25 July 2011

FO! Turtle Power!! WARNING: TONS of pictures

This project has been a long time coming.  My lovely littlest sister has been very patiently waiting for her birthday present since March.  (Wel, I say patiently...)

I started an amigurumi teenage mutant turtle for her in February.  And while I didn't have any trouble reading the pattern (well, nearly no trouble), it required a lot of concentration.  A HUGE step up in complexity from my frist amigurumi attempt: a cupcake.


One of the reasons why the turtle took me so long to complete was because you had to sit and read the pattern for every single stitch.  Unlike a shawl or a scarf, where you can pretty much memorise the pattern and hook away without batting an eye, I needed to read every single line of the pattern.  This is probably not news to an amigurumi expert, but it certainly slowed me down.

The pattern is by Kathleen Early cleverly called Tortellini Tortoise.  You can't fool me Ms Early, I know a TEENAGE MUTANT NINJA TURTLE when I see one!

I found the pattern easy to follow, but if you try this, you're in for the long haul!  Also, stitch markers are your friend!!

Here is how it all comes toghether...

First you make the legs.  This got me excited because they were easier than I expected, and they have little toes!  And look at that shaping, the knee and calves are defined!

Unfortunately one of my legs came out larger than the other.  I'm pretty sure it was my tension (not a mistake!!) and I didn't really notice until they were stuffed and sewn togehter. 


Then you make 7 of these. 


You join them all toghether to make the shell.  I made an unintentional modification here (read: mistake) by crocheting through both loops instead of the instructed BLO (back loop only).  Ooops.  In any case, I think it gave the shell a nice ridged effet.

It was at this point where I really slowed down.  I mean, so may bits to join and ends to weave in.  You also need to make 6 little triangles to fill in the gaps between each of the shell bits, and then you crochet a big circle for the underside of the shell.  grrrr.

Then you make the chest piece, which is 8 pieces sewn togheter.    Intentional modification here.  What I'm calling the boobs (the circle bits) made accrding to the pattern came about a bit small for me (see the right boob pictured below).  So I added an extra round (see left boob).  You can see the proportion of the boobs on the picture in the pattern.

Then you sew those bits together.

Then you make the crotch, which is just a squre and is sewn onto the legs.
Then you make the sides and sew those on. More squares.

Then you make the arms.  These were fun, see his little thumbs!

Unstuffed
Stuffed
Here is an idea of him coming toghether.  


The pattern is actually for a puppet, so you also make these little inserts for the arms and head for where your finger goes through.   You hand goes up the back behind the legs in front of the shell, and you can make his arms and head wiggle.

Finger insert for arm.
You put the insert inside the arm to create a cavity.  You do this for the head as well.

This is how it will work.
The head.


At this point I got a bit over taking pictures of everything.  Also I would generally work on this at night, not ideal picture taking lighting.  So the rest are pretty much the turtle complete! 

He has a hollow belly, the idea is you can store his bits and pieces in his belly.  So you make all the coloured bandanas and weapons and store them insite!  I love that you can dress him us as any of the turtles by switching his bandanas and weapons.
Like so:
Bandanas, wrist bands, belt buckle (including my very special wonky embroidery skillz) and weapons for each turtle.

My favorite weapons are are Raphael's sais.  I had some cool silver yarn for all the metal bits.
And (finally), introducing the Teenage Mutant Ninja Turtles!!
MICHAELANGELO!!!
 LEONARDO!!
 RAPHAEL!!
 DONATELLO!!
 
And a back view.

Phew!  I am super proud of myself, despite the fact that there are TONS of imperfections.  I will most likely not make another one of these any time soon!! 

Ravelled here.

More pics on my flickr.

I feel that my posts are complete without an appearance from The Kitten.  In the course of creating the turtle, my bag of polyfill would be brought out from time to time.  I'm not sure why, but she really liked it.

23 July 2011

Share my joy, and around the internets.

I won *another* giveaway on a blog (remember this one?)!!  Teehee!  Thanks so much to the peeps at Punto Reves, I won some awesome crochet thread!  SO excited to receive it!

Awesome cotton thread on its way to me :)
Speaking of Punto Reves, isn't this gorgeous?
Look at this gorgeous edging on a baby boy blanket by Punto Reves

More cool stuffs I've seen recently around the interwebs...
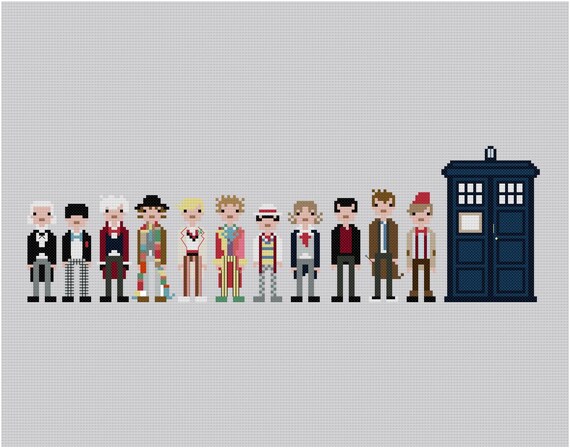
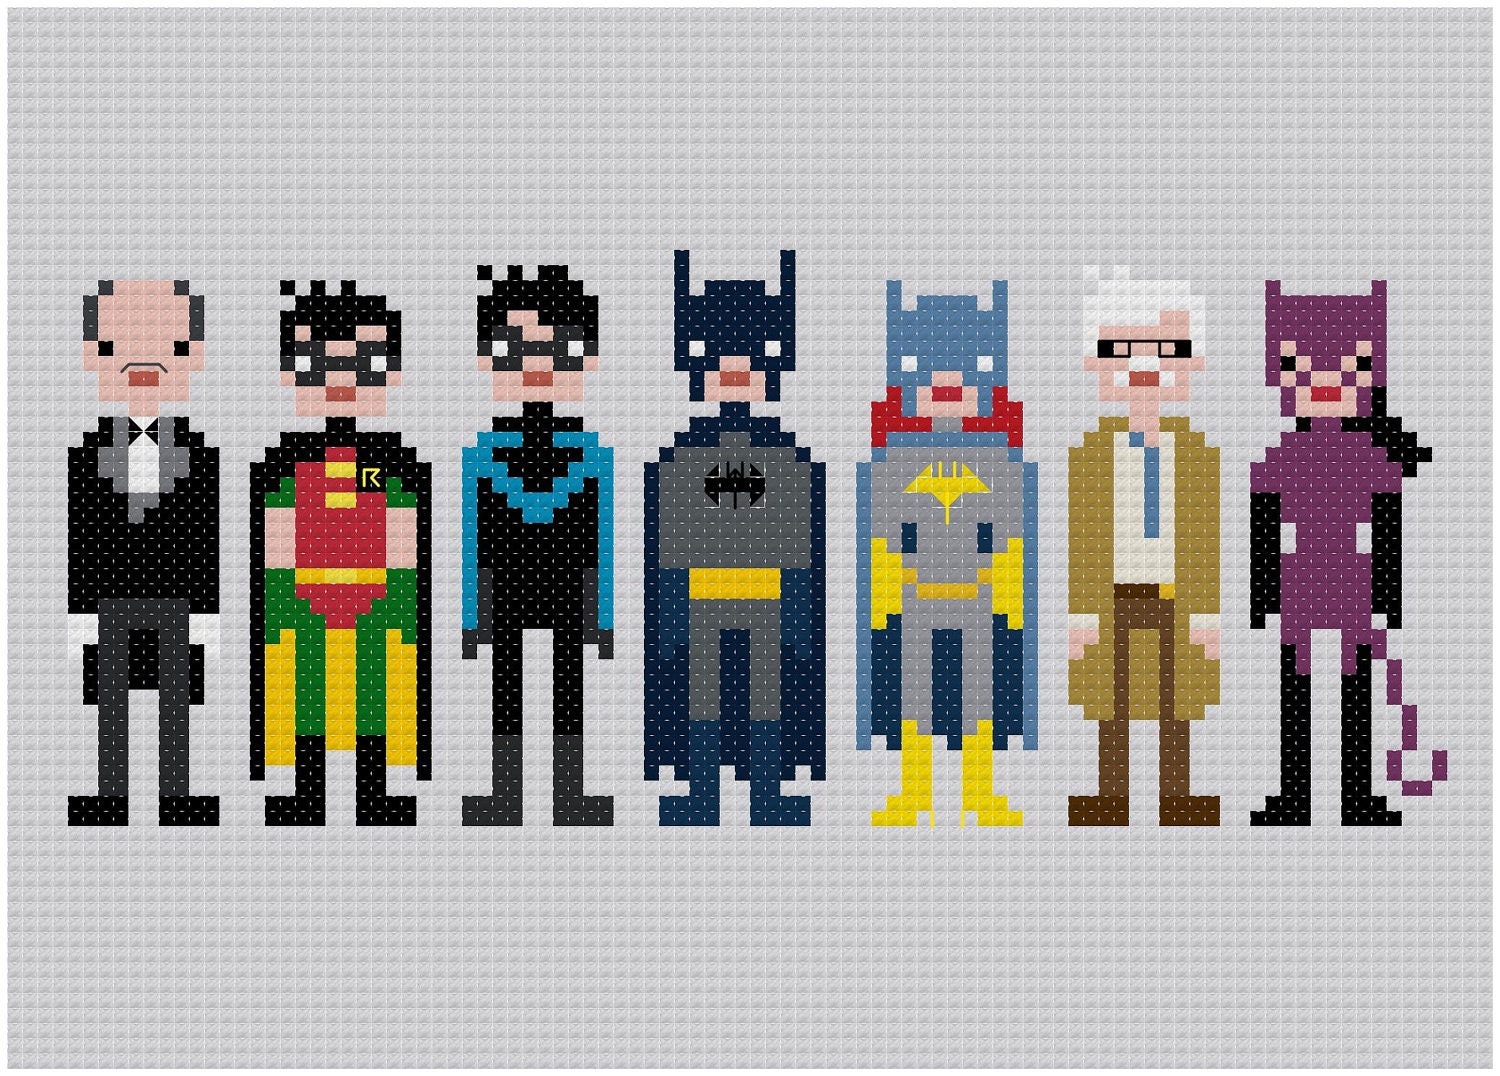
Cute pixel cross stitch patterns from weelittlestitches on etsy
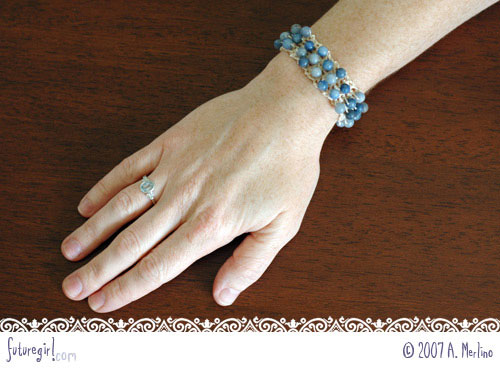
Crochet bracelets!
via Futuregirl
pattern via Ravelry
via the Purl bee
Also via the Purl Bee:
Pretty scarf
Citris Coasters 
Just loveliness.  Spotted here.  Anyone know where this is from originally?
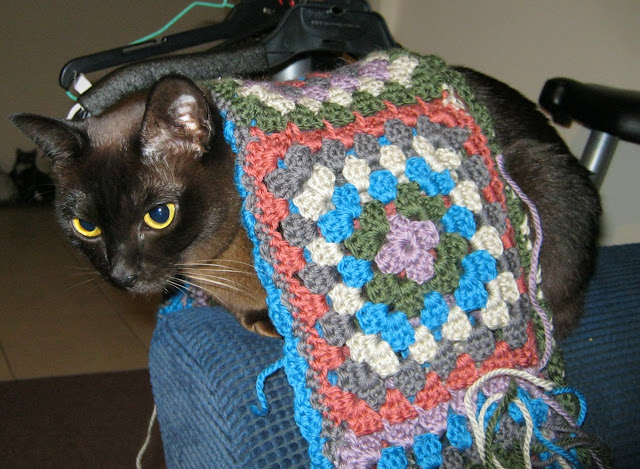
Epic granny bag of epicness.  Spotted here.
Gorgeous granny-esque scarf by Do you mind if I knit (who also shares her ingenious invisibile joining technique!)
If you have seen something cool recently... please share! 

10 July 2011

FO! Granny pride

When Alice from Crochet with Raymond uploaded this pattern for a granny cowl, she entitled her post 'Do you dare to wear a granny square?'.

Her cowl was so lovely so I thought, yes, yes I would so dare. 

The hilarious thing is, I wanted to make mine really close to the colours Alice used.  Obviously my memory is not so good, looking at the colours I came home from Spotlight with! 

Despite the randomness of the colours, I think it works. 

Unblocked it was 142x19cm.  Blocked to 168x20cm.   6mm hook.  Blocking worked so much better than my last cowl project, pure wool certainly likes to be blocked much more than a blend.

Mine is 8 granny squares, and for the border I did a row of dcs (with half trs in the corners of the grannies, as recommended by Alice) and then I did a kinda shell row comprising:  *dc, sk 1 st, 3 tr, sk 1 st* repeat around.

Despite all the *bleeping* ends I had to weave in, I made this baby in 4 days! 

Ravelled here.


Wearing it in different ways...

wrapped thrice around the neck!  A bit neck-bracey but still works.
the hold loop through like you would any old scarf.

And my favourite, just twice around :)
Didn't think this project warranted a million billion pictures, but I still uploaded a bunch to my flickr :)

Yes, I am one of those people who tortures my pet by dressing her up and doing silly things to her.  I'm sure she secretly loves it. 

06 July 2011

Internet love.

I just had to post about how amazed I am at the love I am receiving from the internets in relation to my yarny efforts.  It makes me feel all warm and fuzzy.

I am still a bit amazed that some people are actually following my humble little blog here *waves at followers*.  I wonder how you found me?  And why you chose to stay :)

I love getting comments.  I'm new to blogging, so I'm a bit of a noob when it comes to blog etiquitte.  Should I reply to comments, and how do I do that?  I feel like a bit of a dunce commenting on my own post.  In any case, just assume I say 'thank you' for your comment, and if you ask a question I will certainly endeavour to answer it!

I also feel a bit famous, because some of my favorite bloggers have recently posted on my blog, in particular:
So thanks all for visiting.  I am a bit of an internet stalker, so if you leave a comment for me, or follow me, I will track you down and follow your blog, and probably your Rav account too... (That's not creepy, right?)

Separately, I am super proud of my wedding shawl, so I posted it in the July thread for 11 shawls in 11 on Rav.  I am amazed that I got over 120 'loves' in 8 days!  It's such a small thing, but I certainly feel warm and fuzzy nevertheless <3.


04 July 2011

Cowls cowls cowls!

Cowls!  Cowls!  Cowls!  Cowls!  Cowls!  Cowls!  Cowls!  Cowls!  Cowls!  Cowls!  Cowls!  Cowls!  Cowls!

Cowls are neat-o!  I didn't own any, so I thought to remedy this unfortunate situation.

A girl at my work has been wearing some spiff cowls done in a shell stitch long ways.  Does that make sense?

I couldn't find a pattern to match, so I made one up!  Shell stitch is pretty basic, so any nerd can do it.

The ingredients:
Some yarn.  duh. 
I used 2 skeins of King Cole Riot in "Dude".  Kinda wishing I'd chosen one of the other colourways.  Oh well.

prettyyyy
 You could use any yarn for this cowl, just adjust your hook size accordingly.

I used a 6mm hook,

The method:

Make a chain the desired length of your cowl. OR if you're really clever make a foundation single crochet chain instead.  This is what I did, because it gives you a bit more stretch.  Your chain should be a multiple of 6, plus 3.  Thats the length of the pattern, plus an extra bit to join the pattern together (see the image below). 

I wanted mine so I would get two loops around my head, but not too tight.  Just hold the chain together and test it out.

I was a bit off with my count, but I'm a big fan of fudging to get the result you want :)  If you're getting to the end of your chain and your numbers are off, just fudge it by skipping 1 ch instead of 2 as required so you can join your pattern.

Join your chain with a slip stitch to make a loop. 

Then its just *dc, sk 2 ch, 5tr, sk 2 ch* and repeat from * to * until you come back to where you started from.
Here is a chart of the stitch pattern:


Thanks Wikipedia!
When you get back to where you started, dont turn, but keep doing your shell stitch around and around.  the 5tr go on top of your dcs, and a dc goes in the 3rd tr of the 5 tr. 

My join is not very neat, here is kinda what I did:

Starting in the black, shell stitch around.  The red shows where you'd come back to the beginning.  To continue with the pattern, you will end with a dc, then 5tr into your starting dc.  The green is the next row.

The most important thing, when you finish your first row of shell stitch and are going onto the next row, make sure your work is not twisted.  I learnt this the hard way and had to frog about 4 rows before I realised.

I did about 14 rows, then ended off and did 14 rows on the bottom of the chain, to make the cowl symmetrical. 

I steam blocked my cowl, but it still wanted to curl.  I think it looks spiff anyway :)  It's about 140cm around.  Ravelled here.

Before blocking

Blocking attempt.


And wah-lah!  Very snuggly, stays in place beautifully, unlike a scarf which can flap around all over the place.

I have another (possibly daggy) cowl on the hook now.  I hope to have it finished by the weekend!